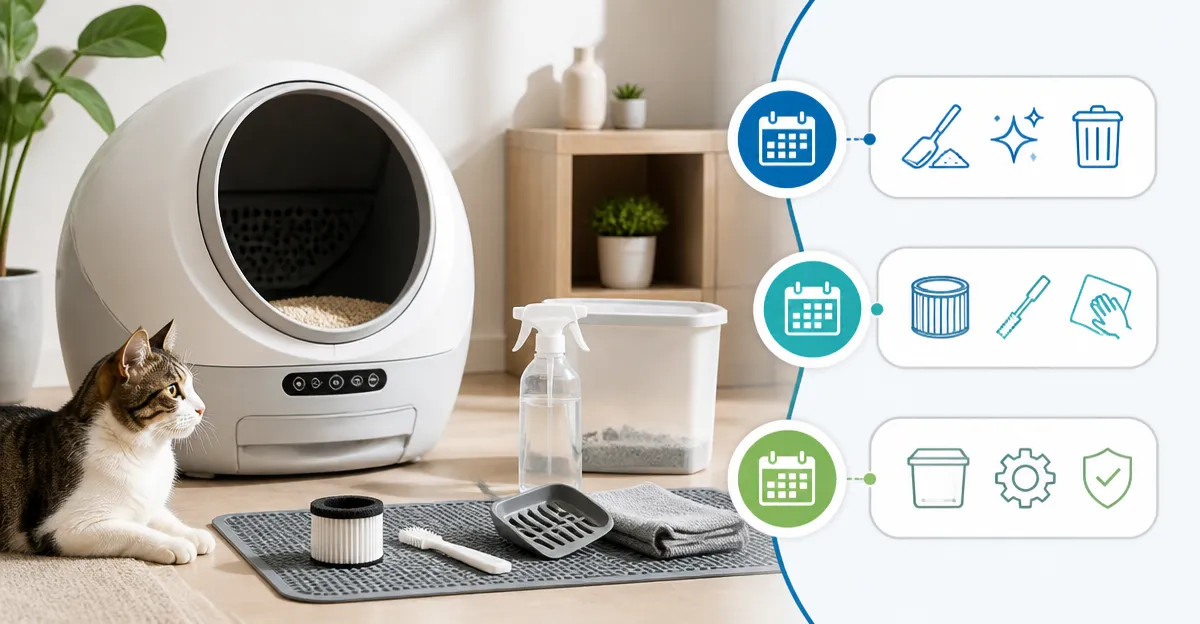
How to Create an Automatic Litter Box Maintenance Schedule: Daily, Weekly & Monthly Checklist for Odor‑Free, Long‑Lasting Performance
Introduction
Pet owners who rely on automatic litter boxes often wonder how to keep the device running quietly, odor‑free, and reliable for years. This guide explains a systematic maintenance schedule that covers daily, weekly, and monthly tasks. By following the checklist, one can reduce litter waste, prevent sensor errors, and extend the lifespan of the unit while preserving a pleasant home environment.
The article also recommends specific tools that simplify each step. The recommendations are based on real‑world performance data, price, and user feedback, ensuring that readers receive practical value regardless of whether they purchase the suggested items.
What You’ll Need
- A reliable automatic litter box (see product recommendations below).
- Soft microfiber cleaning cloths.
- Neutral pH cleaning solution or mild dish soap.
- Replacement waste bags or liners compatible with the chosen model.
- Optional: Deodorizer blocks or baking soda for extra odor control.
Step 1: Daily Inspection & Quick Clean
Daily attention prevents minor issues from becoming costly repairs. After each cat uses the box, the device automatically scoops clumps, but a quick visual check is still advisable.
- Open the waste compartment and verify that the sealed bag or liner is not full. If the bin shows a red indicator in the app, replace the bag immediately.
- Inspect the litter surface for stray granules that may have escaped the open‑top design. A brief shake of the litter tray helps redistribute any displaced litter.
- Check the app for any sensor alerts. Most units send a notification if weight sensors detect an obstruction.
- Remove any visible debris with a soft cloth. Avoid abrasive tools that could scratch the tray.
For homes with multiple cats, the ovesong Automatic Cat Litter Box offers a 15 L sealed waste bin that often lasts several days before needing replacement. Its dual safety sensors reduce accidental cleaning cycles, making daily checks quick and low‑risk. Price: $99.99, Rating: 4.1/5 (155 reviews).
Step 2: Weekly Deep Cleaning
A thorough weekly cleaning removes built‑up residue, maintains sensor accuracy, and preserves the quiet operation that owners appreciate.
- Turn off the unit and unplug it from the outlet.
- Disassemble the litter tray, waste bin, and any removable rakes according to the manufacturer’s manual.
- Rinse the tray and rakes with warm water and a mild dish soap solution. For clumping litters, a soft brush can loosen stubborn particles.
- Dry all components with a microfiber cloth before reassembly.
- Replace the waste bag or liner. If the model uses proprietary bags, keep a spare supply on hand.
The Mintakawa Self‑Cleaning Cat Litter Box features a removable drum that slides out for cleaning, reducing the time spent on weekly maintenance. Its low‑noise performance (below 35 dB) ensures that cleaning does not disturb the household. Price: $109.99, Rating: 4/5 (1,278 reviews).
Step 3: Monthly Maintenance & Component Inspection
Monthly tasks focus on the mechanical and electronic components that keep the system operating smoothly over the long term.
- Inspect the infrared and weight sensors for dust accumulation. A dry cotton swab can gently remove particles without damaging the sensor surface.
- Lubricate moving parts if the manufacturer recommends it. Use only silicone‑based lubricants that are safe for plastic.
- Examine the waste bin seal for wear. A compromised seal can allow odors to escape, reducing the effectiveness of the odor‑lock system.
- Update the firmware through the companion app. Firmware updates often contain bug fixes that improve sensor reliability.
- Test the emergency manual mode to ensure the unit can be operated without power.
The Cumrige Self‑Cleaning Cat Litter Box provides a 95 L drum capacity and a 15 L waste bin that can last up to 15 days, making monthly checks essential for larger households. Its Tuya Smart app offers detailed health tracking, which can be valuable when monitoring weight trends. Price: $199.94, Rating: 4.2/5 (3,712 reviews).
Step 4: Seasonal Adjustments
Changes in temperature and humidity affect litter clumping and odor control. Adjust the schedule accordingly.
- In winter, increase the frequency of waste‑bin checks because low temperatures can slow the drying of clumps.
- During summer, ensure the unit is placed away from direct sunlight to prevent overheating of sensors.
- Consider adding a deodorizer block or a small amount of baking soda to the waste bin for extra odor neutralization.
The Neakasa M1 Plus Litter Box includes a built‑in brush strip and composite sealing ring that significantly reduce odor leakage, making it an excellent choice for homes with strong seasonal scent challenges. Price: $399.99, Rating: 4/5 (4,295 reviews).
Step 5: Emergency Backup Plan
Even the most reliable automatic litter box can experience a power outage or sensor glitch. Having a contingency plan prevents stress for both cat and owner.
- Keep a traditional litter tray nearby with a small amount of clumping litter.
- Store a spare waste bag and a set of disposable gloves for quick manual cleaning.
- Maintain a portable power bank that can supply enough juice to run the unit for at least one cleaning cycle.
The UBPET Open‑Top Auto Litter Box offers modular components that detach in three steps, allowing rapid conversion to manual mode when needed. Its dual‑rake design ensures thorough cleaning even if the app is temporarily unavailable. Price: $199.00, Rating: 4.7/5 (49 reviews).
Tips & Pro Tips
- Use the correct litter type. Clumping bentonite works best with most models, while crystal litters may jam the rakes.
- Place the box on a stable, level surface. Uneven flooring can cause the drum to wobble, leading to sensor errors.
- Schedule app notifications during low‑traffic periods. This prevents unnecessary interruptions during night‑time cleaning cycles.
- Rotate the waste bag every 3‑4 days for multi‑cat households. Frequent changes maintain odor control and reduce strain on the sealed bin.
- Keep spare replacement parts. Sensors, gears, and waste‑bin seals are inexpensive compared to the cost of a full unit.
Troubleshooting
| Problem | Possible Cause | Solution |
|---|---|---|
| Box does not start cleaning | Weight sensor blocked or dirty | Clean sensors with a dry cotton swab; ensure litter is not covering the sensor area. |
| Excessive noise during cycle | Loose drum or debris in gears | Turn off power, remove drum, clear debris, and tighten any loose screws. |
| Odor escaping from waste bin | Seal wear or bag not seated properly | Inspect seal for cracks; replace waste bag and ensure it clicks into place. |
| App shows “offline” | Wi‑Fi interference | Restart router, ensure the unit is within 2.4 GHz range, and reconnect via the app. |
Conclusion
By implementing a structured daily, weekly, and monthly maintenance schedule, one can keep an automatic litter box operating quietly, odor‑free, and durable for years. The checklist presented here balances practical actions with optional product tools that simplify each task. Whether one chooses the budget‑friendly ovesong Automatic Cat Litter Box or the premium Neakasa M1 Plus Litter Box, the principles remain the same: regular inspection, thorough cleaning, and proactive component care.
Adopt the schedule, monitor performance through the companion apps, and adjust seasonal settings as needed. A well‑maintained automatic litter box not only saves time but also contributes to the health and happiness of cats and their owners alike.
Products Mentioned in This Guide
Frequently Asked Questions
How often should I perform daily, weekly, and monthly maintenance on an automatic litter box?
Clean the waste compartment daily, wipe the interior and check sensors weekly, and deep‑clean the unit plus replace liners monthly.
What daily tasks help keep an automatic litter box odor‑free?
Empty the waste bag, scoop any clumps, and wipe the surface with a microfiber cloth and neutral pH solution.
Which tools are essential for weekly upkeep of an automatic litter box?
Use soft microfiber cloths, a mild dish‑soap solution, and inspect the sensors and rollers for debris.
How can I prevent sensor errors in my automatic litter box?
Keep the sensor area clean, avoid litter dust buildup, and ensure the waste bag is properly seated each week.
Is baking soda safe to use as a deodorizer in automatic litter boxes?
Yes, a thin layer of baking soda or manufacturer‑approved deodorizer blocks can safely neutralize odors without harming the device.